Node Dashboard: Uplinks & Router Boot Guide
This step-by-step tutorial guides you on how to pair, configure, and boot network interface uplinks (such as ens33) using the Muterconn Node Dashboard.
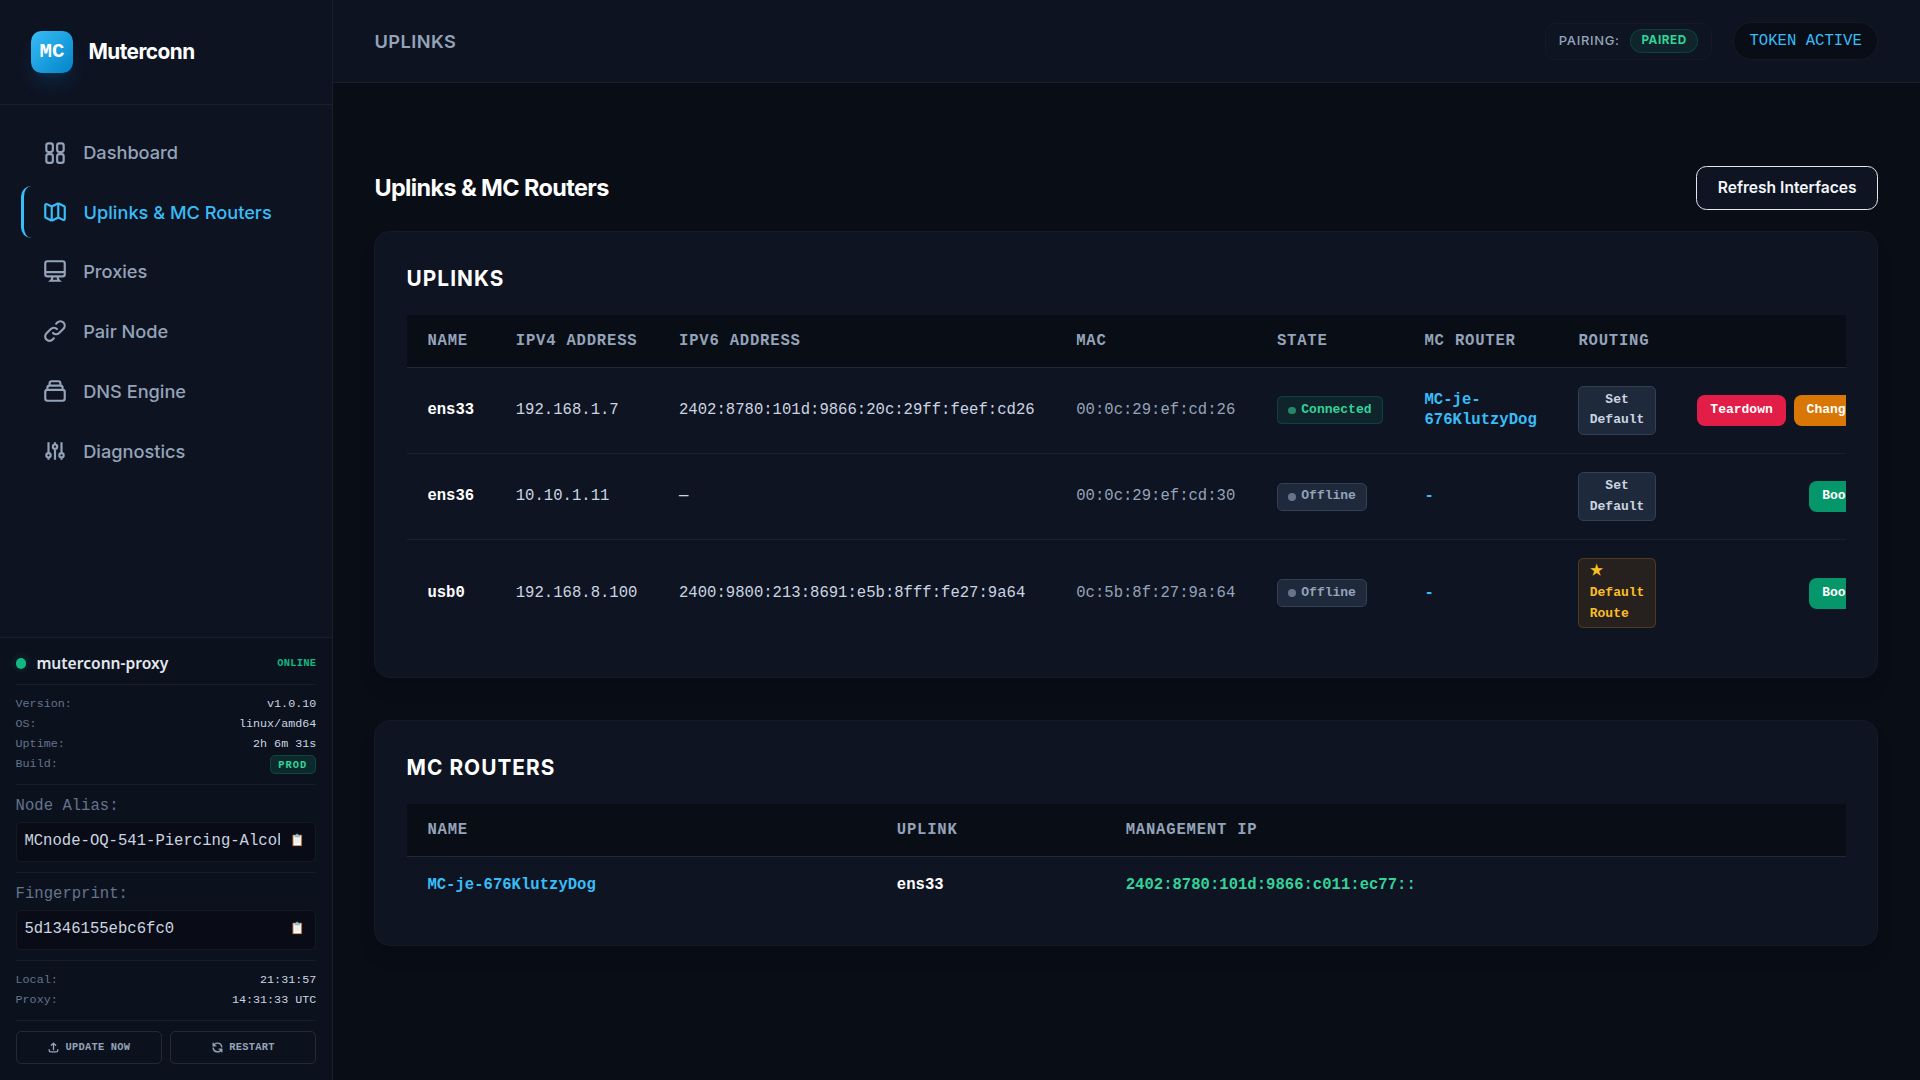
Step 1: Dashboard Interface Overview
Once installed, you can access the Node Dashboard by opening a web browser and navigating to http://localhost:9091 or the host's IP address on port 9091 (e.g., http://192.168.1.10:9091 or http://localhost:9091). Here you will find real-time hardware metrics, sniffer logs, and the Uplinks & MC Routers interface table.
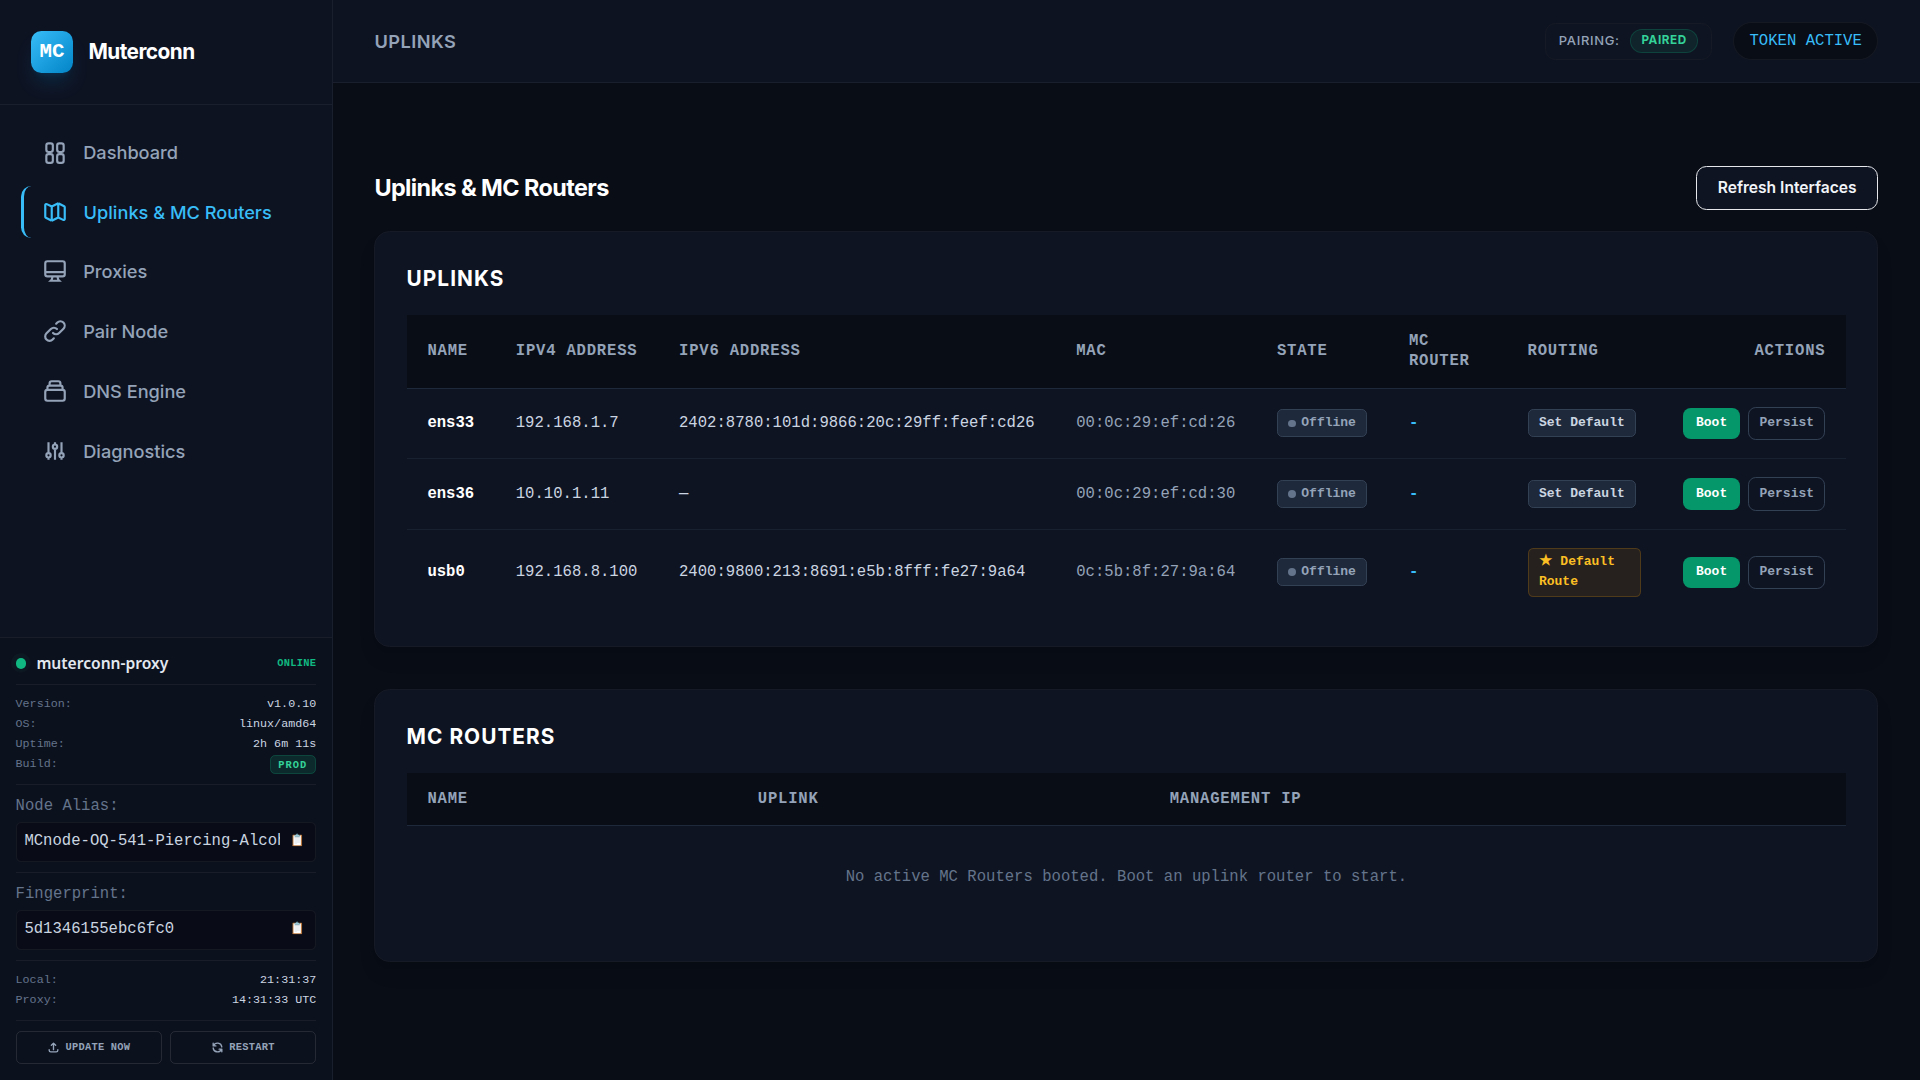
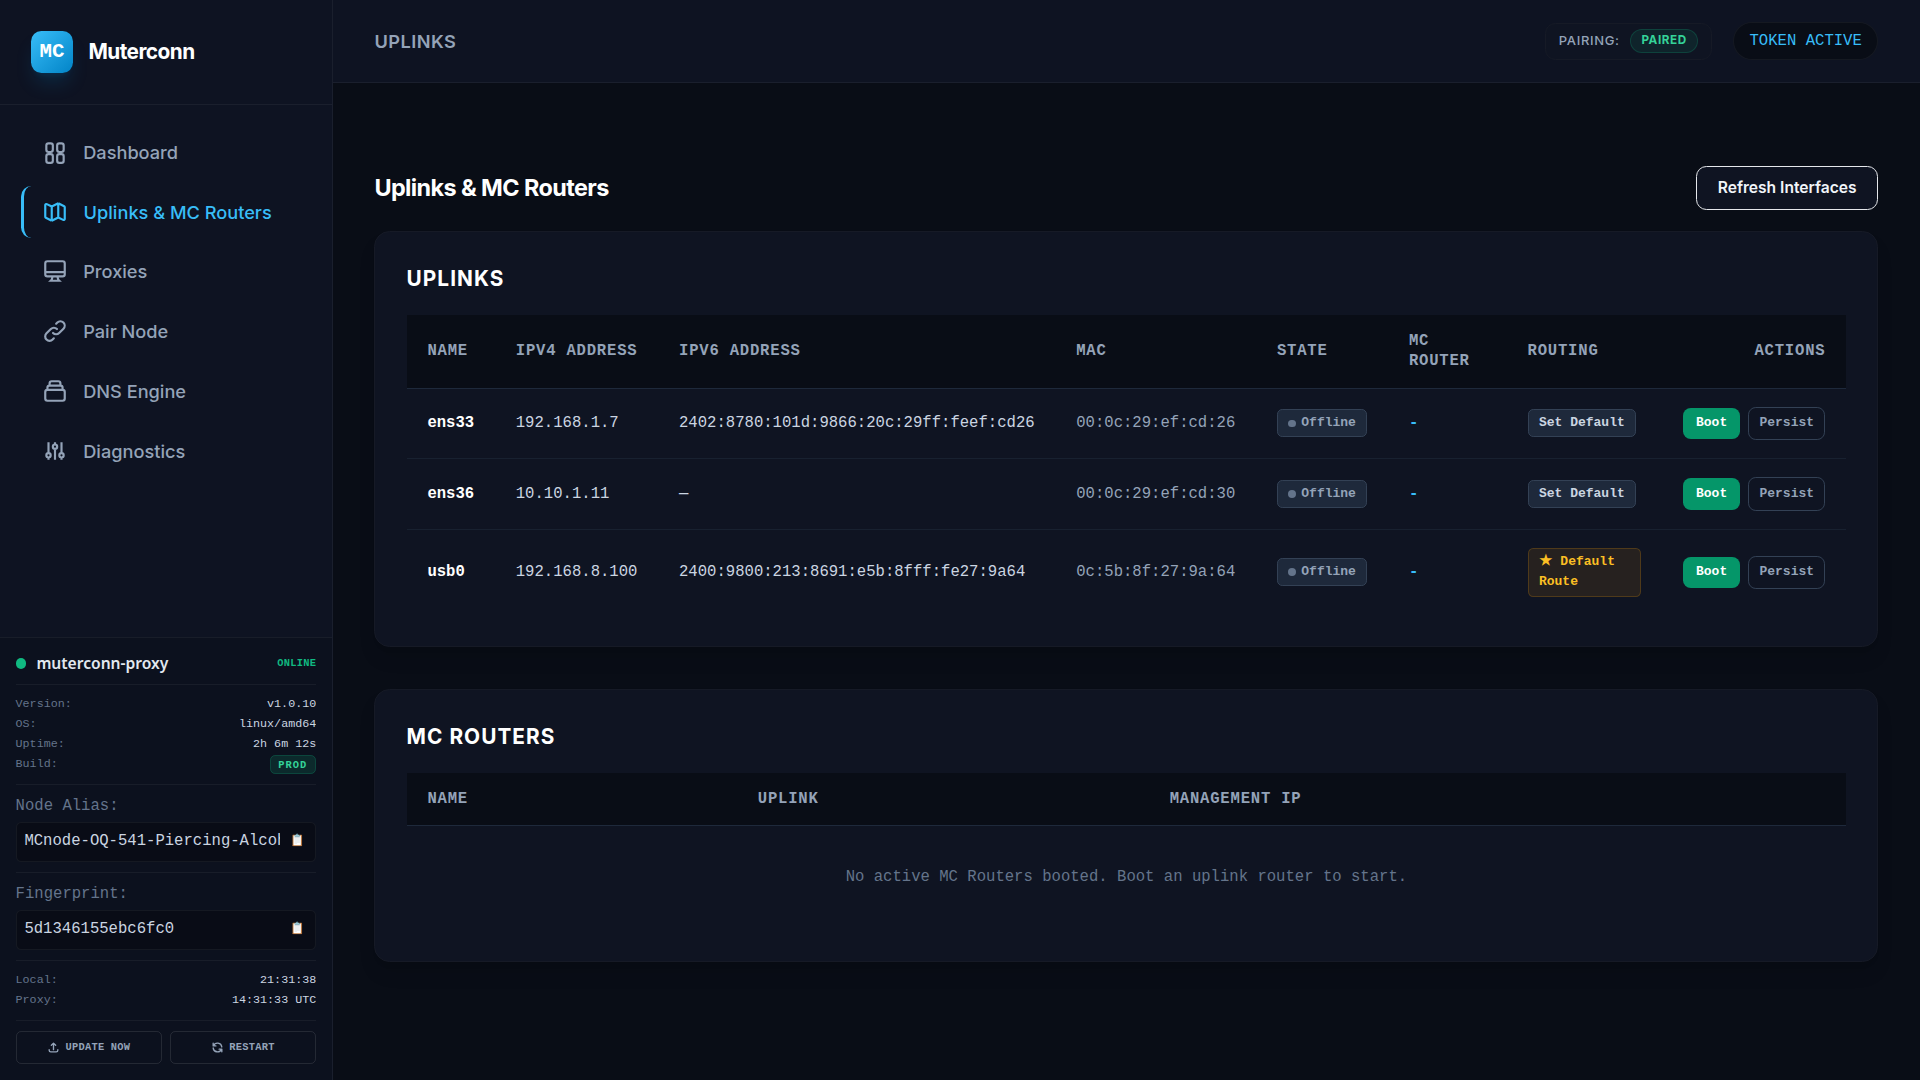
Step 2: Triggering Interface Boot
Locate the desired network interface (e.g., ens33) under the Uplinks section. To start routing proxies through this uplink, click the highlighted Boot button.
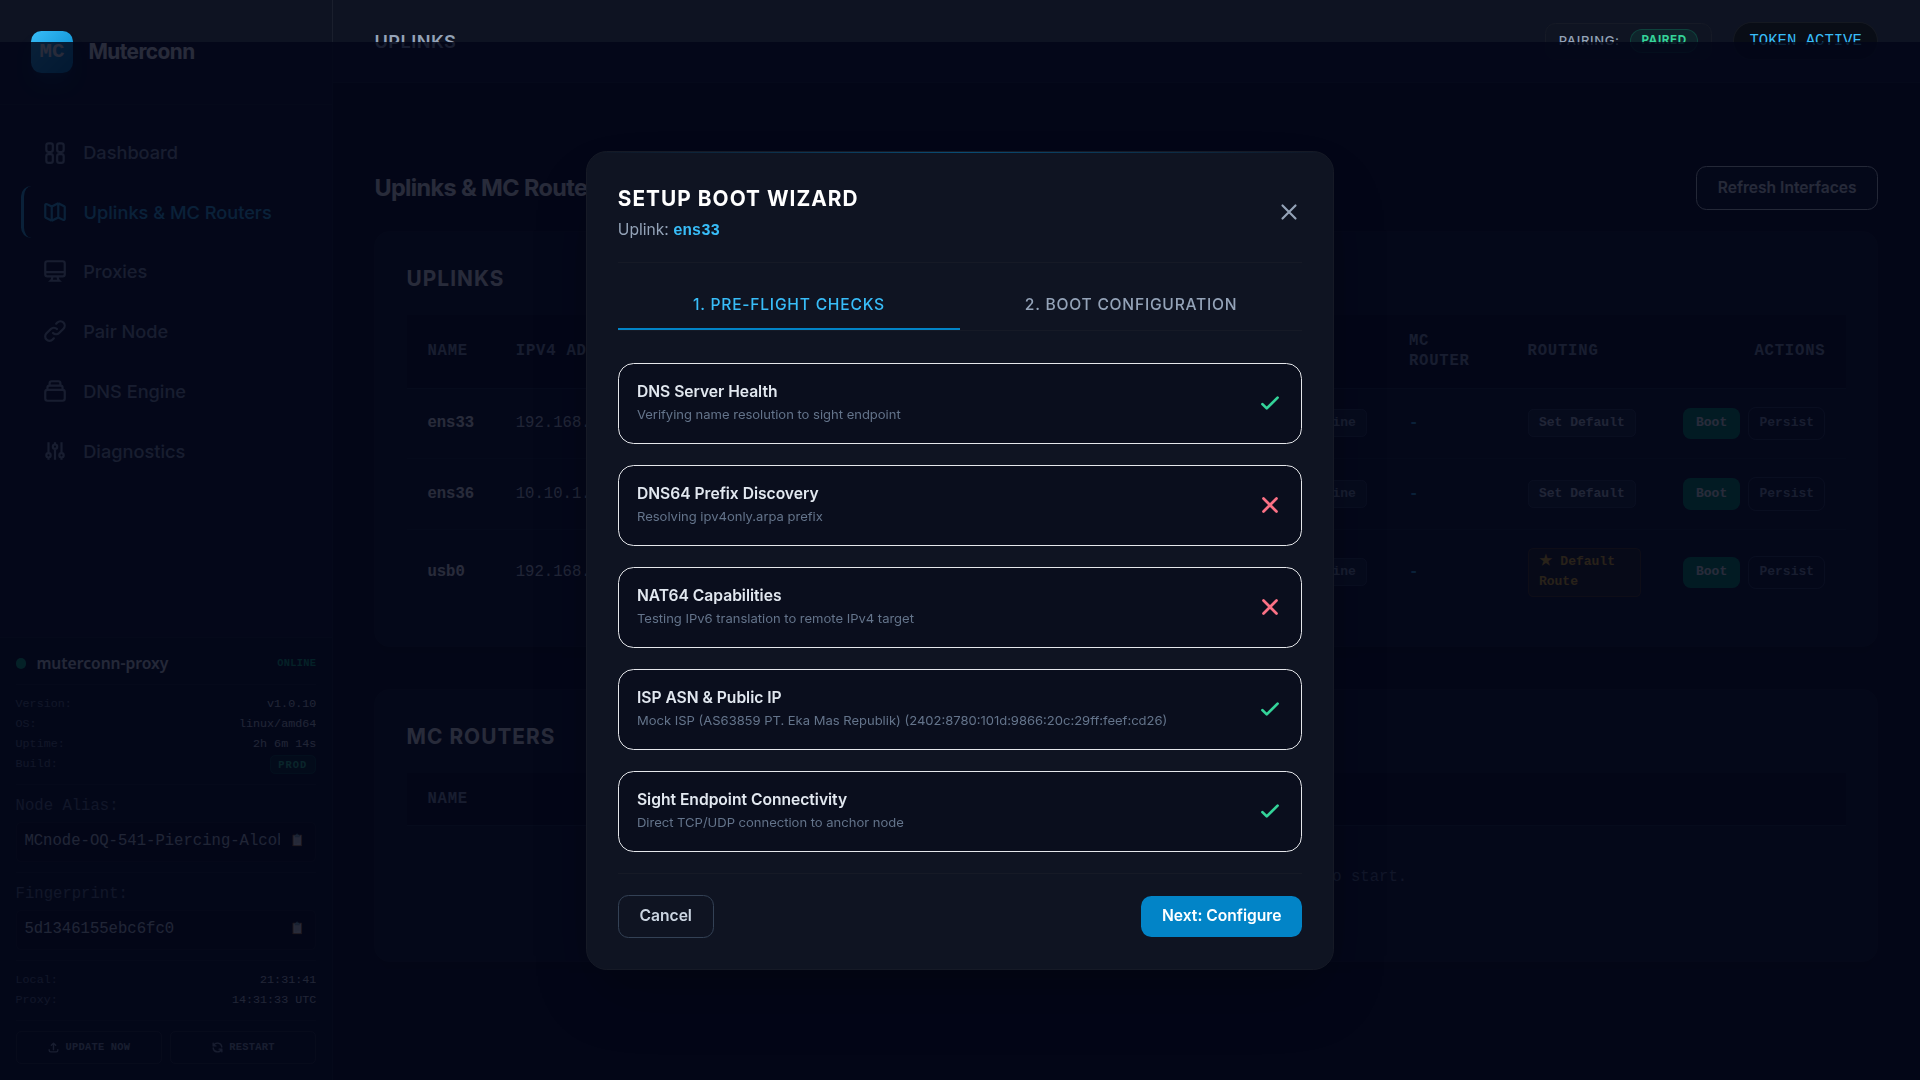
Step 3: Boot Wizard Step 1 — Pre-Flight Checks
The Setup Boot Wizard modal will slide open. The first stage executes automated network connectivity and permission checks. Confirm all checks pass, and click Next: Configure.
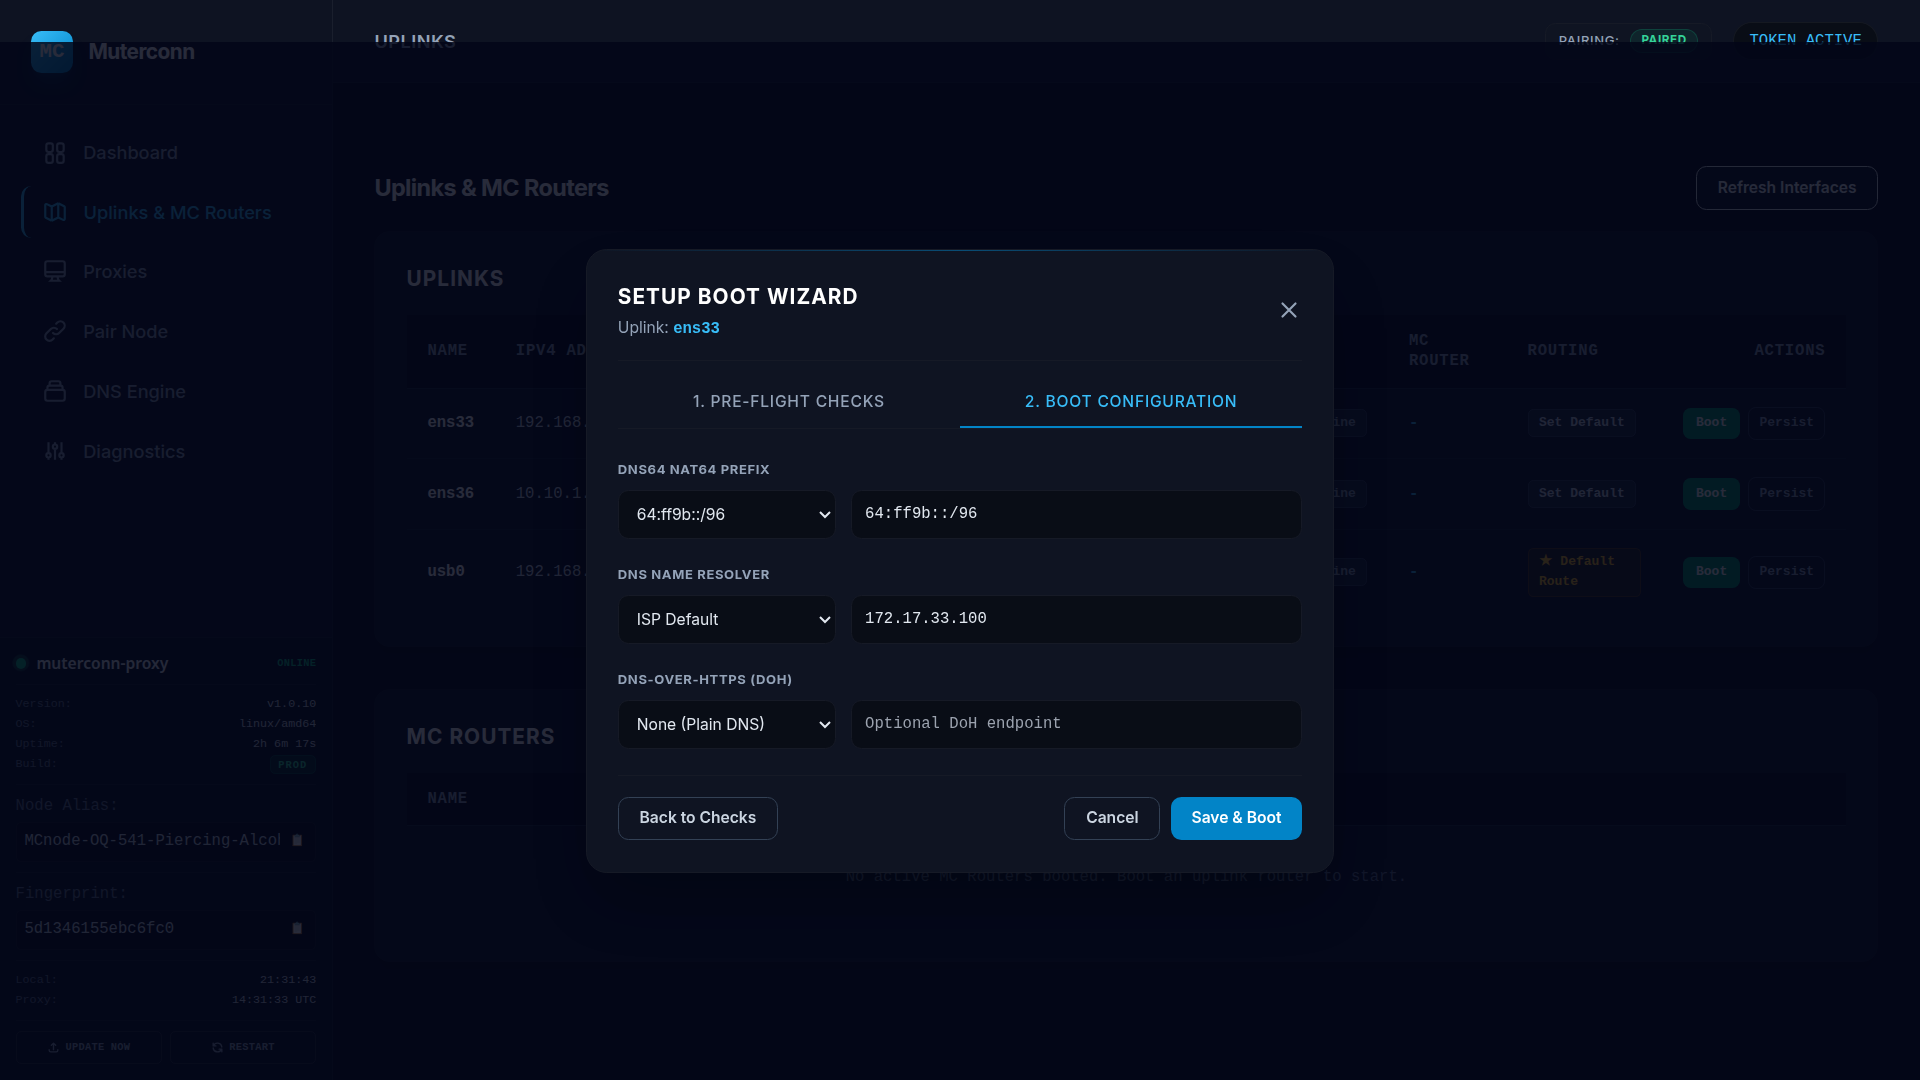
Step 4: Boot Wizard Step 2 — Boot Configuration
Choose the IP mode (IPv4/IPv6/Dual), OS spoofing profile, and select the number of active proxy slots. Click the highlighted Save & Boot button to provision the eBPF kernel constructs.
Step 5: Active Online Routing
Once the boot pipeline completes, the wizard closes. The ens33 interface state updates to Online and your virtual OS routing slots automatically populate the active table.